| Change History | |
| 2024-10-13 | Updated with much more content. |
| 2023-03-18 | First published |
How to Grow Broccoli Sprouts: Two Methods for Nutritious Greens
Broccoli sprouts are young broccoli plants that are celebrated for their exceptional nutritional profile. They are rich in vitamins A, C, and K, as well as minerals like calcium and iron. However, what makes broccoli sprouts particularly noteworthy is their high concentration of sulforaphane, a compound that has been the subject of extensive research for its potential health benefits.
Studies have suggested that sulforaphane may help reduce inflammation, improve heart health, and even inhibit the growth of certain cancer cells. For instance, a study published in Clinical Cancer Research indicates that sulforaphane can target breast cancer stem cells (source). Another study in Cancer Prevention Research found that consuming sulforaphane-rich broccoli sprouts reduced the risk of prostate cancer (source). Additionally, research published in Food Chemistry highlights the enhanced antioxidant properties of broccoli sprouts compared to mature broccoli (source).
Growing your own broccoli sprouts at home is an easy and cost-effective way to incorporate this superfood into your diet. This article will guide you through two popular methods: using a jar for sprouts and growing microgreens in trays under a grow lamp.
Understanding Sprouts vs. Microgreens
Before we dive into the methods, it's important to understand the difference between sprouts and microgreens. Sprouts are germinated seeds that are eaten just as the seed begins to grow. They are typically harvested within 3-5 days and are consumed entirely, including the seed, root, and shoot. Microgreens, on the other hand, are grown in soil or a soil substitute and are harvested after the first true leaves develop, usually within 7-14 days. They are cut above the soil line, so only the stems and leaves are eaten. While both are nutritious, microgreens often have a more developed flavor and slightly higher nutrient levels due to their longer growth period.
Method 1: Growing Broccoli Sprouts in a Jar
Materials Needed:
- Broccoli sprouting seeds
- Wide-mouth glass jar
- Mesh sprouting lid or cheesecloth with a rubber band
- Clean water
Instructions:
- Sanitize the Jar: Wash the jar thoroughly with hot soapy water or run it through the dishwasher.
- Add Seeds: Place 2 tablespoons of broccoli seeds into the jar.
- Soak Seeds: Fill the jar halfway with cool water. Secure the mesh lid or cheesecloth on top. Allow the seeds to soak for 8-12 hours at room temperature.
- Drain Water: After soaking, drain the water thoroughly.
- Rinse and Drain Daily: Rinse the seeds with fresh water twice a day, morning and evening. After each rinse, drain well to prevent mold growth.
- Watch Them Grow: Place the jar in a well-ventilated area away from direct sunlight.
- Harvest: In about 5 days, your sprouts will be 1-2 inches long and ready to eat. Give them a final rinse and enjoy.
Method 2: Growing Broccoli Microgreens in Trays Under a Grow Lamp
Materials Needed:
- Broccoli microgreen seeds
- Shallow growing trays with drainage holes
- Seedling soil mix or coconut coir
- Spray bottle with water
- Grow lamp
Instructions:
- Prepare the Tray: Fill tray with holes in bottom with soil mix to about 3/4 to 1 inch deep. Level the surface gently. Place this tray with holes in bottom inside another tray that has no holes.
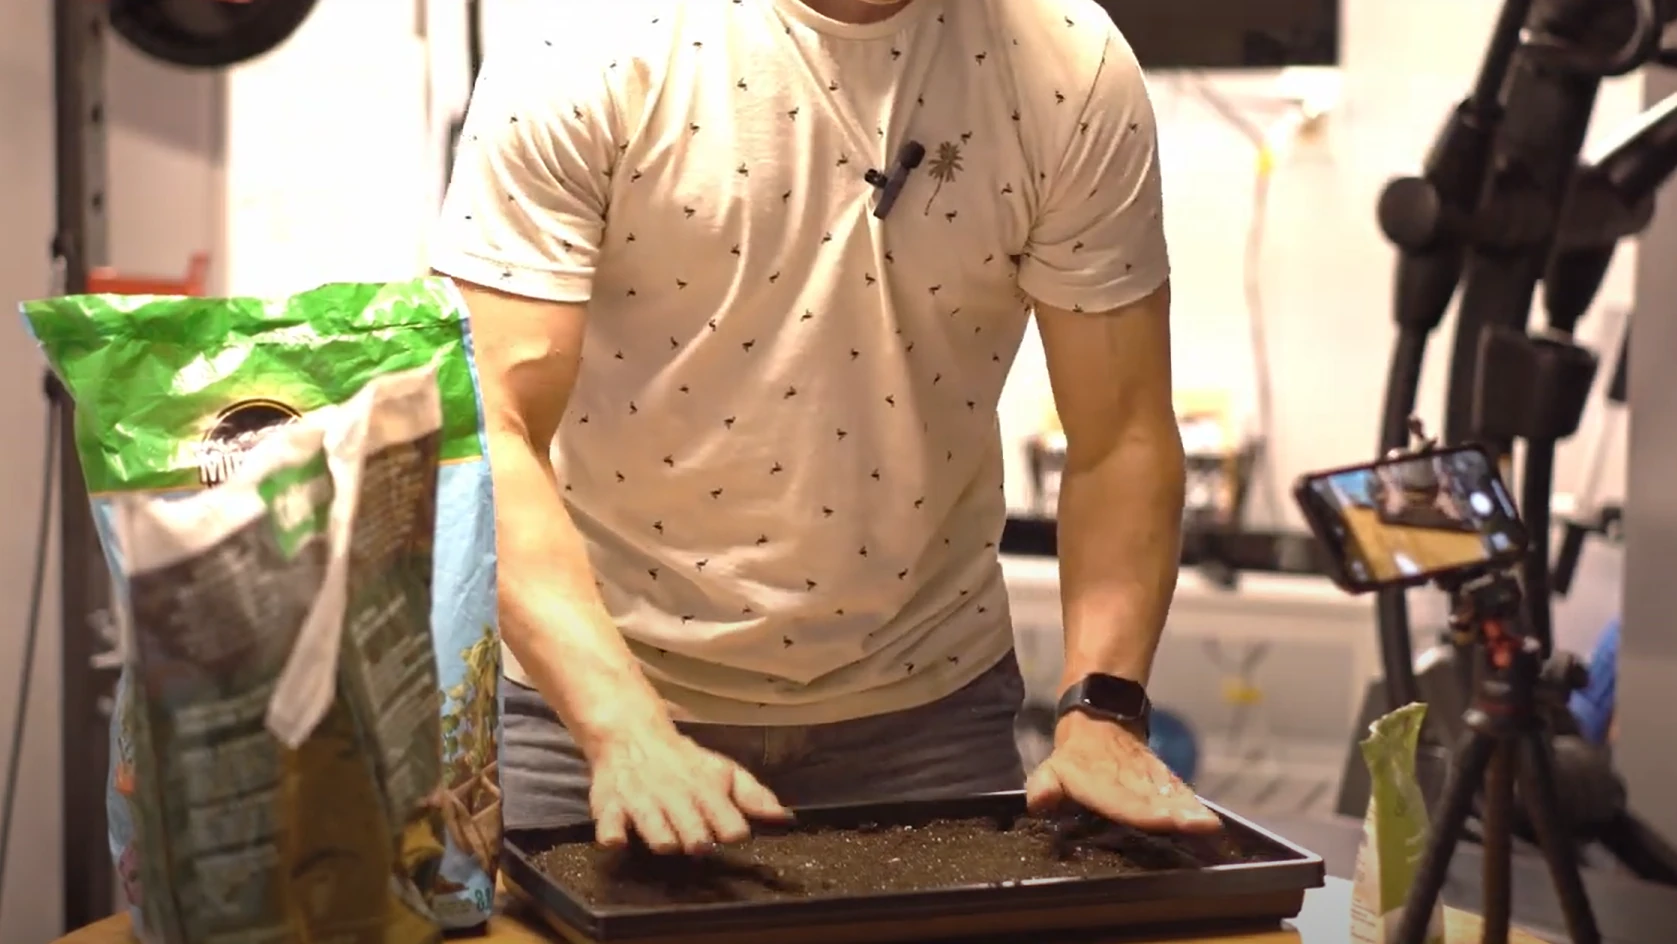
- Sow Seeds: Scatter the seeds evenly over the soil surface. Aim for a dense but not overlapping coverage.
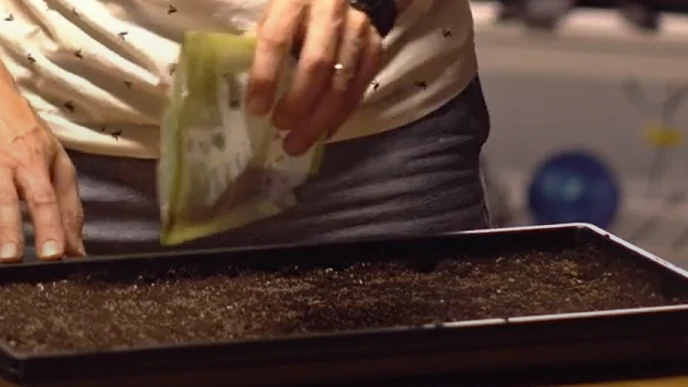
- Press Seeds Into Soil: Gently press the seeds into the soil without burying them.
- Mist with Water: Use the spray bottle to moisten the seeds and soil thoroughly.
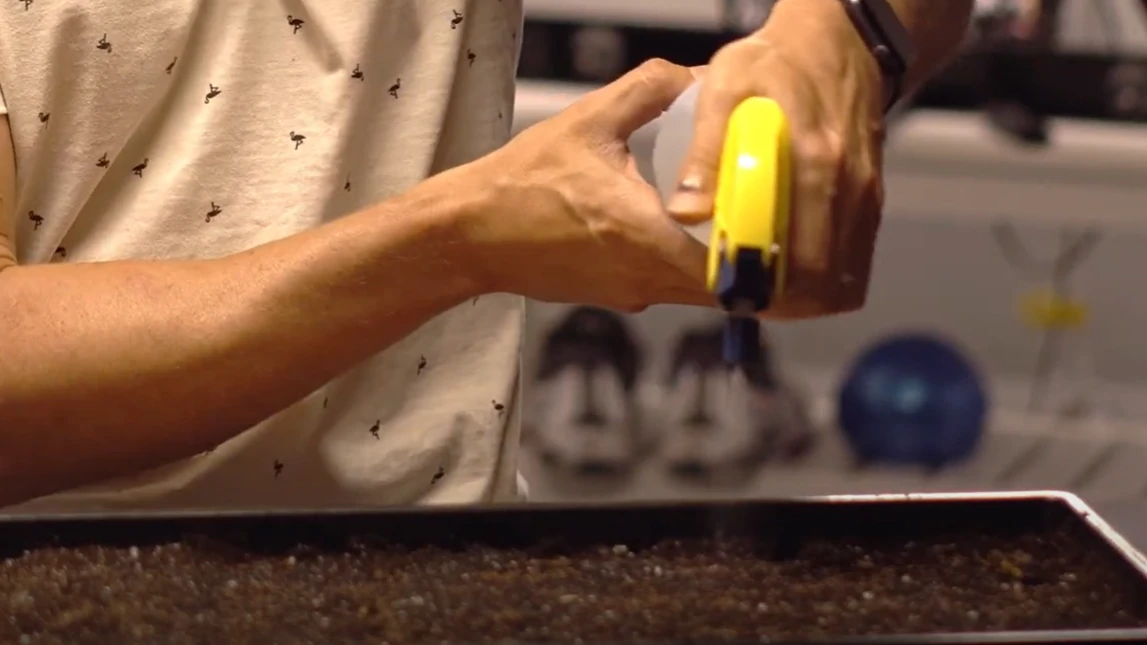
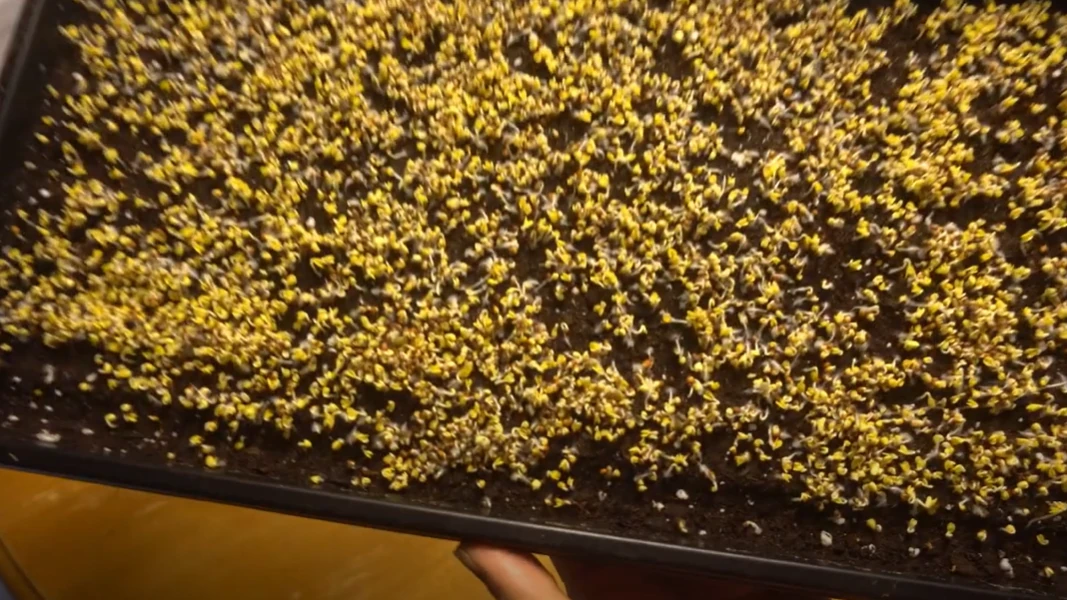
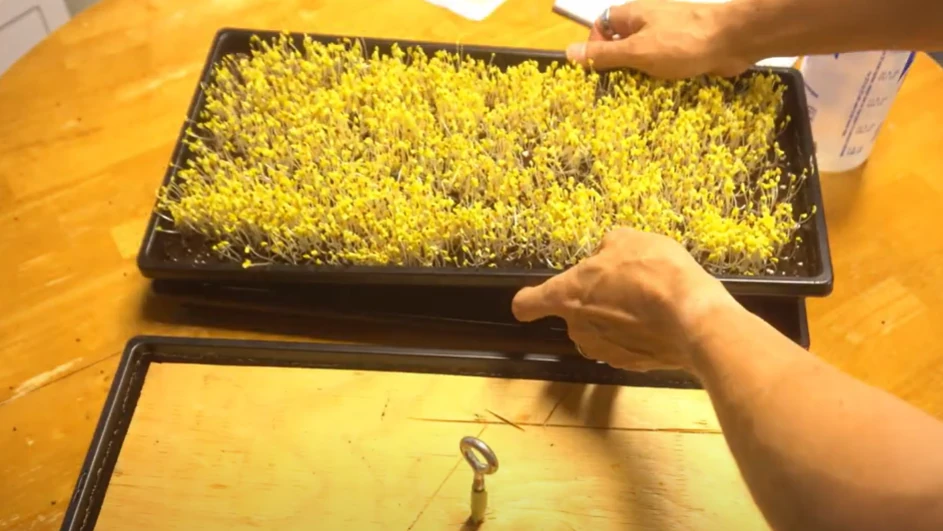
- Cover the Seeds: Place a plastic lid or another tray on top to create a humid environment for germination. I either just use another tray or use another tray and weight it down with a board that has a hook in it for a handle. The extra weight is helpful to germinate the seeds faster and healthier.
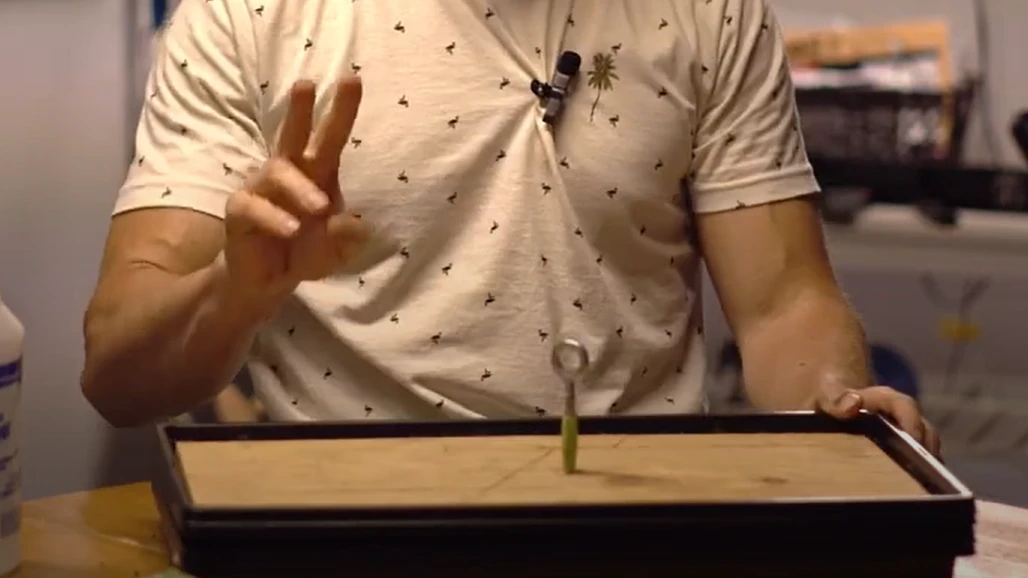
- Place Under Grow Lamp: After 2-3 days, once the seeds have germinated, remove the cover and place the tray under a grow lamp for 12-16 hours a day.

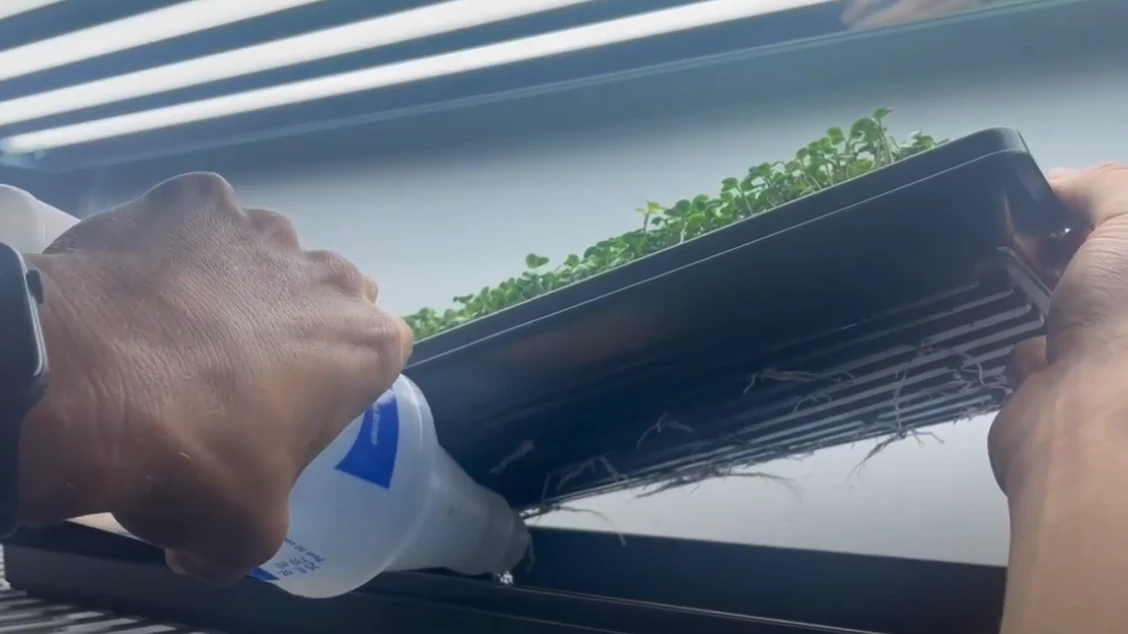
- Water as Needed: Keep the soil moist by misting daily or as needed. Once roots begin to protrude from holes in the bottom of the tray, ensure daily watering by filling holding tray with about 1/4 inch of water.
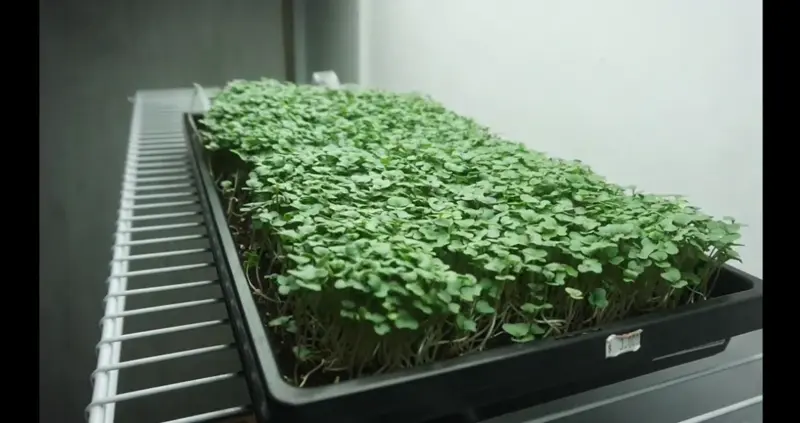
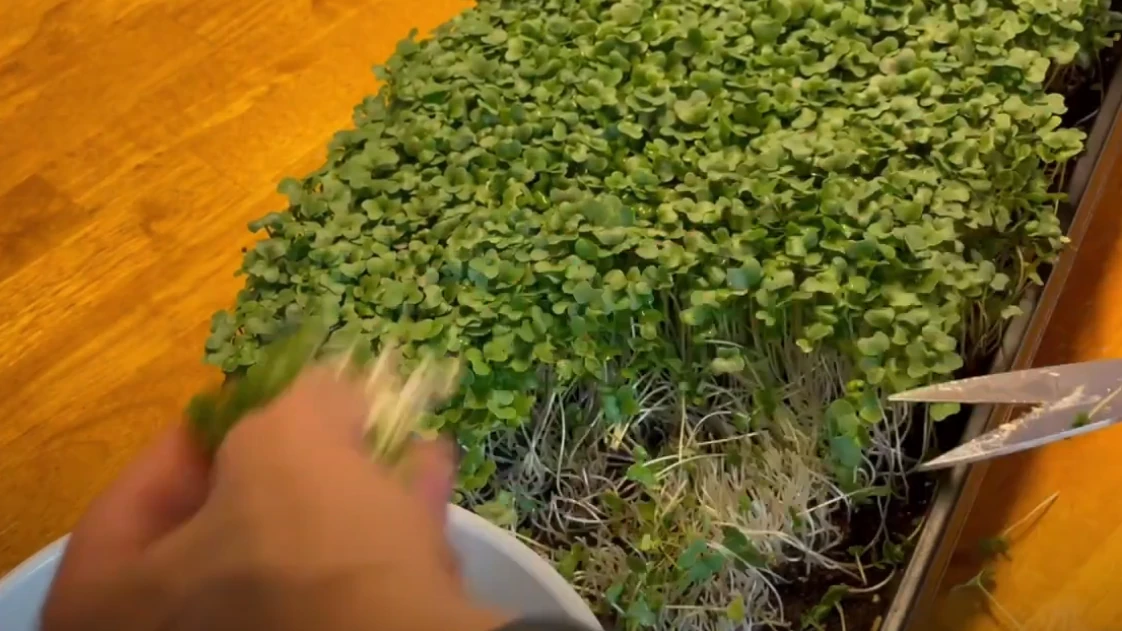
- Harvest: In about 10-14 days, when the microgreens are 2-3 inches tall and have developed their first true leaves, use scissors to cut them just above the soil line.
Enhancing Sulforaphane Content Through Freezing
Interestingly, some research suggests that freezing broccoli sprouts may increase their sulforaphane content. Freezing can rupture plant cell walls, enhancing the availability of sulforaphane when consumed. A study published in Frontiers in Oncology discusses how processing methods like freezing can affect the bioavailability of sulforaphane (source). To potentially boost the health benefits, consider freezing your freshly harvested broccoli sprouts before consuming them. Simply place the rinsed sprouts in an airtight container or freezer bag and store them in the freezer. They can be added directly to smoothies or thawed slightly before use in salads and other dishes.
Important Terms
| Term | Definition |
|---|---|
| Sulforaphane | A naturally occurring compound found in cruciferous vegetables like broccoli, known for its antioxidant and potential anticancer properties. |
| Bioavailability | The proportion of a nutrient or bioactive compound that is absorbed and utilized by the body. |
| Antioxidant | A substance that inhibits oxidation and combats free radicals in the body, potentially preventing cell damage. |
| Germination | The process by which a plant grows from a seed, initiating sprout development. |
| Microgreens | Young vegetable greens harvested just after the first leaves develop, offering intense flavors and concentrated nutrients. |
| Cruciferous Vegetables | A group of vegetables in the Brassicaceae family, including broccoli, cauliflower, cabbage, and kale, known for health-promoting compounds. |
Journal Articles
📰 (2010) Sulforaphane, a Dietary Component of Broccoli/Broccoli Sprouts, Inhibits Breast Cancer Stem Cells
- This study explores how sulforaphane targets breast cancer stem cells.
- Findings suggest that sulforaphane may prevent or treat breast cancer by inhibiting these stem cells.
- The research supports the potential of sulforaphane as a natural, dietary-based cancer therapy.
📰 (2009) Dietary Sulforaphane-Rich Broccoli Sprouts Reduce Colonization and Attenuate Gastritis in Helicobacter pylori–Infected Mice and Humans
- Investigates the effect of broccoli sprouts on Helicobacter pylori infection, a risk factor for stomach ulcers and cancer.
- Results show reduced bacterial colonization and inflammation in both mice and human subjects.
- Highlights the potential of broccoli sprouts in managing H. pylori infections.
📰 (2020) Phytochemical profiles and antioxidant activity of broccoli sprouts grown under different conditions
- Analyzes how different growing conditions affect the antioxidant properties of broccoli sprouts.
- Finds that sprouts have higher concentrations of beneficial compounds compared to mature broccoli.
- Suggests optimal cultivation methods to maximize health benefits.
📰 (2023) Enhancing the Bioavailability of Sulforaphane from Broccoli Sprouts
- Discusses methods to increase sulforaphane bioavailability, including freezing.
- Highlights that processing techniques can significantly impact the health benefits.
- Provides insights into maximizing sulforaphane intake from broccoli sprouts.
Conclusion
Whether you choose to grow sprouts in a jar or microgreens in a tray, both methods offer a simple way to incorporate nutrient-rich broccoli greens into your diet. Sprouts are quicker to grow and require minimal equipment, making them ideal for beginners. Microgreens take a bit longer and need additional materials like soil and grow lamps but offer a different texture and flavor profile. Additionally, freezing your harvested sprouts may enhance their sulforaphane content, providing even greater health benefits. Whichever method you prefer, you'll enjoy fresh, home-grown greens packed with nutrients.